Notice: Undefined variable: post_id in /data/wordpress/htdocs/wp-content/plugins/pressapps-knowledge-base/public/partials/page/page-single.php on line 41
Using Moodle’s image gallery
Article sections
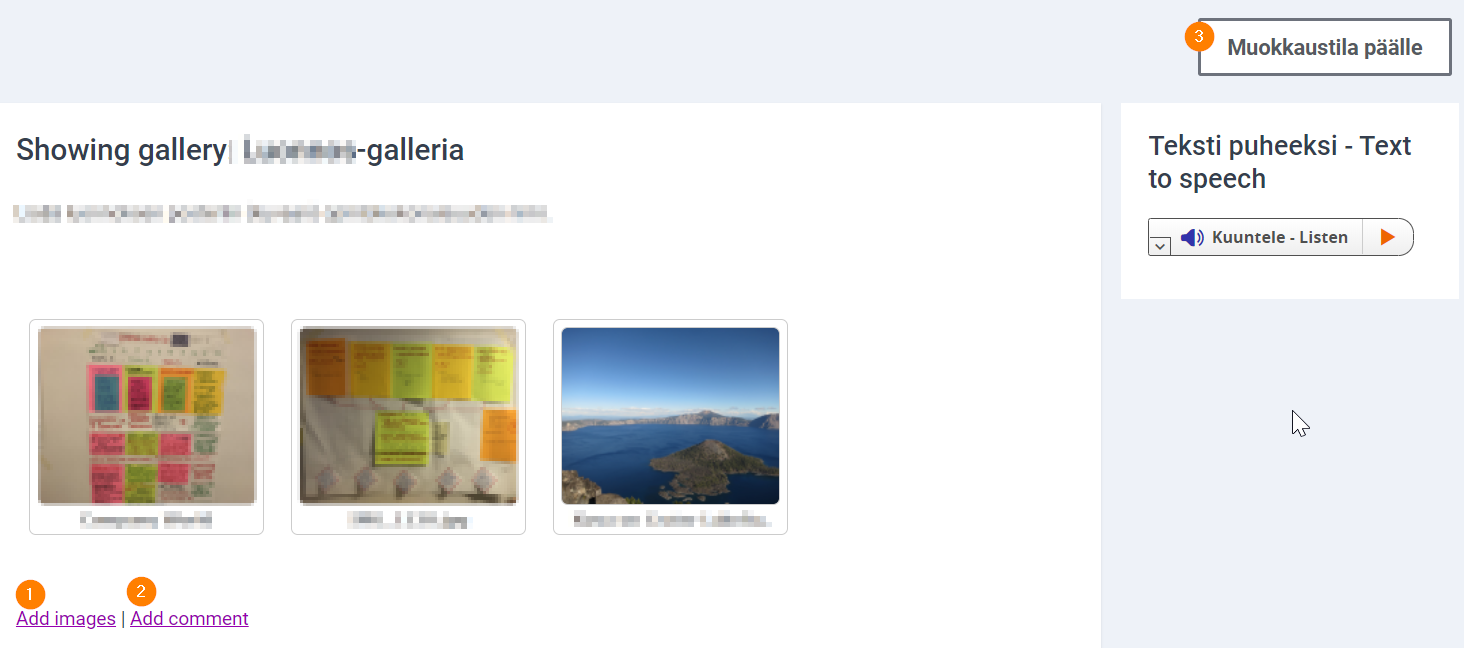
In the Moodle workspace, it is possible to create image galleries as Lightbox gallery material, from which users can easily browse photos. By default, students can also add pictures to the gallery.
Adding pictures and comments
- Adding an image: press Add image and select the desired image file.
- Adding a comment: press Add comment and send the desired comment.
- The comments are not image-specific, but appear below the image gallery.

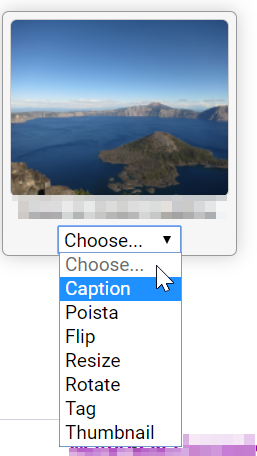
3. Adding a caption to a picture, editing and deleting pictures (if allowed by the teacher): press the Editing mode on button.

Choose the function you want for the picture you want.
Adding a photo gallery (teacher’s guide)
Turn on editing mode in workspace. Add the Lightbox gallery material to the place you want. Under advanced settings, check the following:
- do you want students to add a caption to the image and have it appear in full? Select yes for Display full caption text.
- do you want students to post comments? Select yes for Allow comments.
- the comments are not image-specific, but appear below the image gallery.

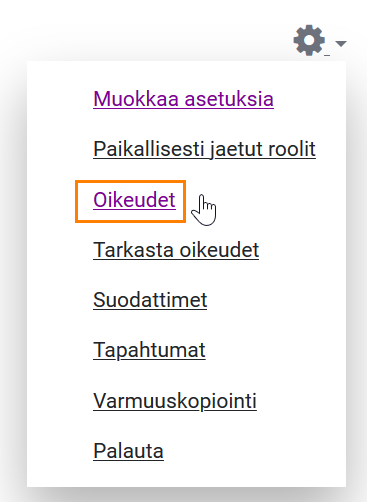
If you don’t want students to be able to, for example, edit picture names, add captions or delete pictures, check the activity-specific setting in the gallery settings from the gear button.
Select Rights, find the Lightbox gallery material section and remove the student role from the Edit a lightbox gallery section. Note the setting only applies to this individual gallery.

Notice: Undefined variable: output in /data/wordpress/htdocs/wp-content/plugins/pressapps-knowledge-base/public/partials/page/page-single.php on line 83
